![]() Photoscape is an excellent free alternative to commercial photo editing programs like Photoshop. It includes a wide variety of filters, tools and special effects that help you touch up and edit your digital images.
Photoscape is an excellent free alternative to commercial photo editing programs like Photoshop. It includes a wide variety of filters, tools and special effects that help you touch up and edit your digital images.
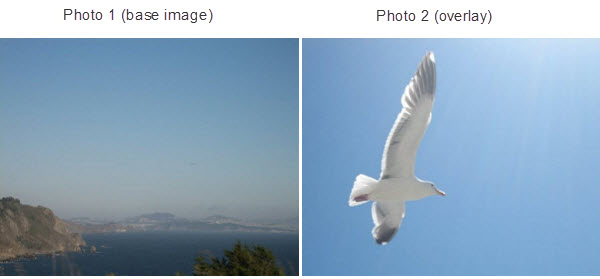
Blending one image over another to create a combined image is a great way to add an artistic effect to some of your photos. It’s also convenient for people who take multiple photos in quick succession and want to add certain objects in one photo to another with a similar backdrop. With Photoscape, this is quite simple to do, once you learn the process…
1.Pick two images you would like to combine and then launch Photoscape.
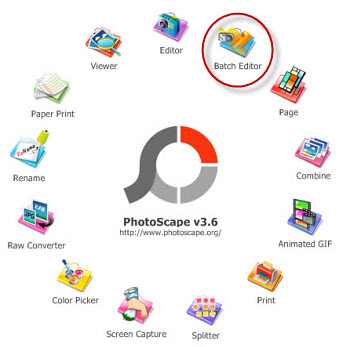
2. Click on the Batch Editor option on the launch page. For future reference, you can also access Photoscape’s various editing options in the tabbed list on top of the editing frames.
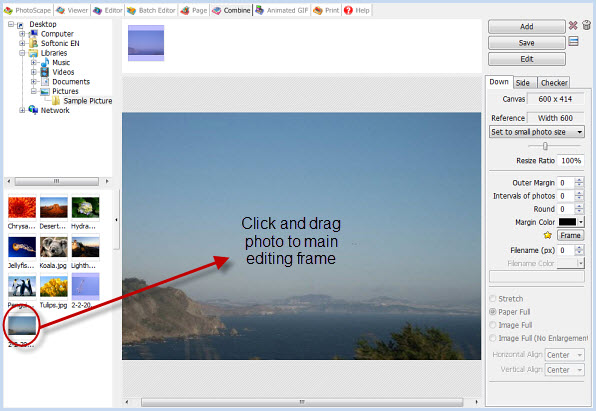
3. Locate the photo you want to use as your base image by searching through your hard drive in Photoscape’s top left frame. Images will appear in the bottom left frame once you’ve opened an appropriate folder.
Click and drag your chosen photo into Photoscape’s main center frame.
4. Now it’s time to choose the image you want to overlay onto your base photo. In the far right frame, there is a set of three tabs called Home, Filter and Object. Click on the Object tab.
Check the box marked Photo 1, then browse and select the photo you want to overlay onto your base photo. It will be superimposed over your original image.
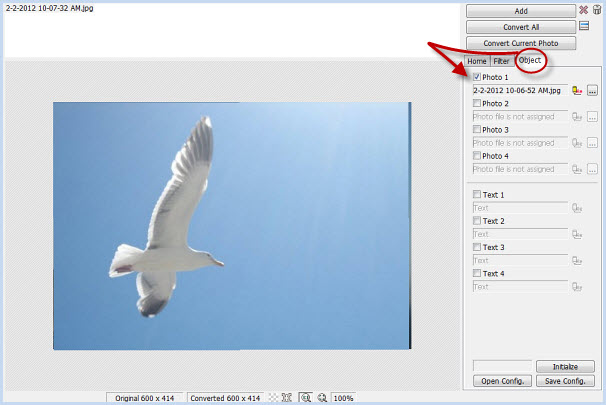
If your images are not the same size, you can click and drag either image to match up by using your mouse. You’ll also notice that the base image is now hidden by the new top photo. In order to see both images, you’re going to need to change the opacity of the top photo.
5. Directly to the right of the Photo 1 box is a small icon of a yellow pencil. Click on that to lower the opacity to a level that allows you to see both images.
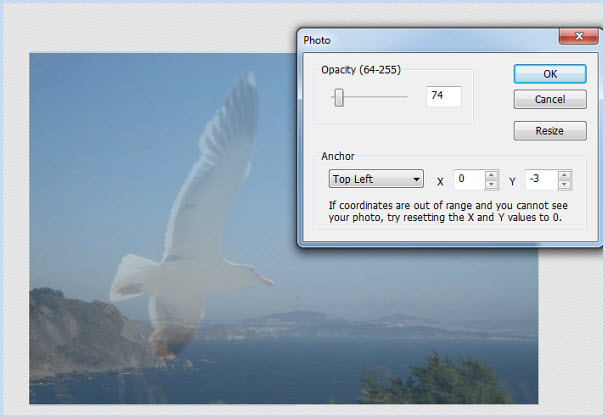
6. That’s it! You’re done blending. If you’re happy with how the image looks, it’s time to save your image and show it off to friends and family. To save, simply click convert all in the upper right frame. If you want to keep a copy of the original image, make sure to change the name to save it as a new file.
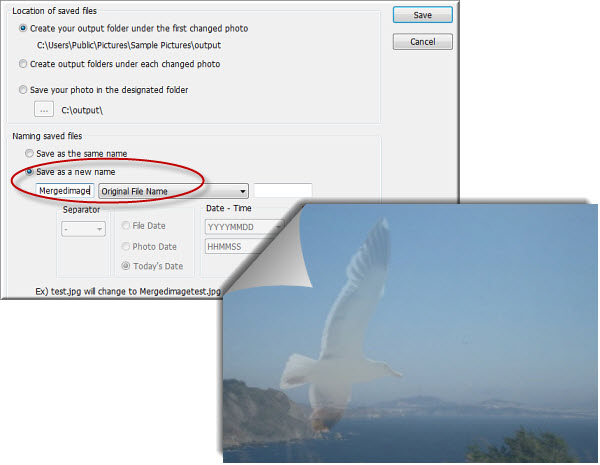
From here, you can add special effects or edit your brand new blended image further with Photoscape’s many other available tools.

